
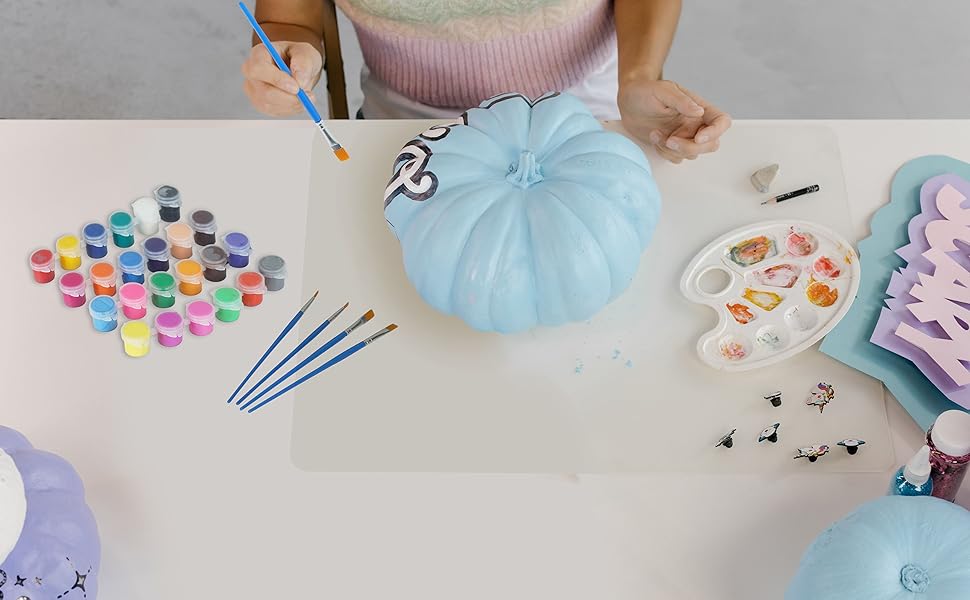
Pumpkin Painting Crafts! Pumpkin painting is one of the easiest and most fun fall activities for kids of all ages. Unlike carving, it’s safe for little hands and doesn’t require sharp tools or lots of cleanup. These creative ideas make for adorable autumn décor and hours of screen-free fun. Whether your kids love spooky, silly, or sparkly, there’s a painted pumpkin here they’ll enjoy.
Before getting started, cover your work surface with newspaper or a disposable tablecloth, and dress the kids in old clothes or aprons. Use non-toxic, washable paints, especially for toddlers and preschoolers. And remember—no pumpkin is too small to paint. Mini pumpkins are perfect for tiny hands!
1. Rainbow Dot Pumpkin
This vibrant pumpkin design is as simple as it is cheerful. Kids love the freedom to mix colors, and parents will love how easy it is to clean up. Start with a white or light-colored pumpkin to make the colors pop. Using dot markers or paint dabbers, children can create polka dots in a rainbow of colors all over the surface.
Let your child decide on the dot pattern—random, rainbow rows, or even emoji-style faces made from dots. If you don’t have dot markers, cotton swabs dipped in paint work perfectly too. Encourage your little ones to count or name the colors as they paint for an added educational bonus.
Tip: For younger kids, stick to primary colors and let them blend as they go. Use washable paint so cleanup is easy, especially for hands and faces.
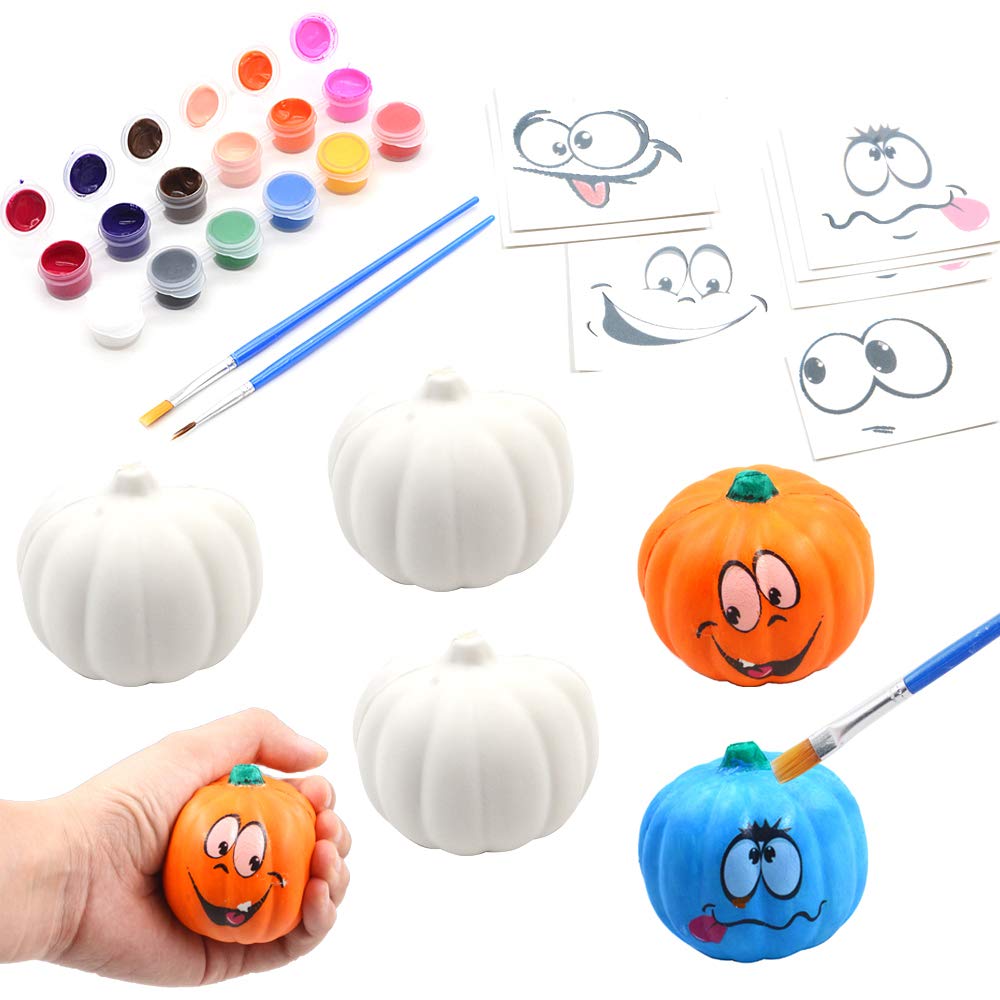
2. Silly Monster Faces
Kids can get really creative with silly monster pumpkins! Start by painting the pumpkin in a fun base color—lime green, purple, or neon pink work great. Once it dries, glue on big googly eyes and use pipe cleaners for wild hair, antennae, or horns. Let your child create different expressions with a paintbrush or permanent marker.
These monster pumpkins can be goofy, grumpy, sleepy, or scary, depending on your child’s mood and imagination. Encourage them to give each monster a name and personality! Add glitter or pom-poms for extra fun, and group them together to form a whole “monster squad.”
Tip: If the paint isn’t sticking well, lightly sand the pumpkin before painting or use a base coat of primer. Use hot glue for sturdier accessories if you’re supervising older kids.
3. Unicorn Pumpkin
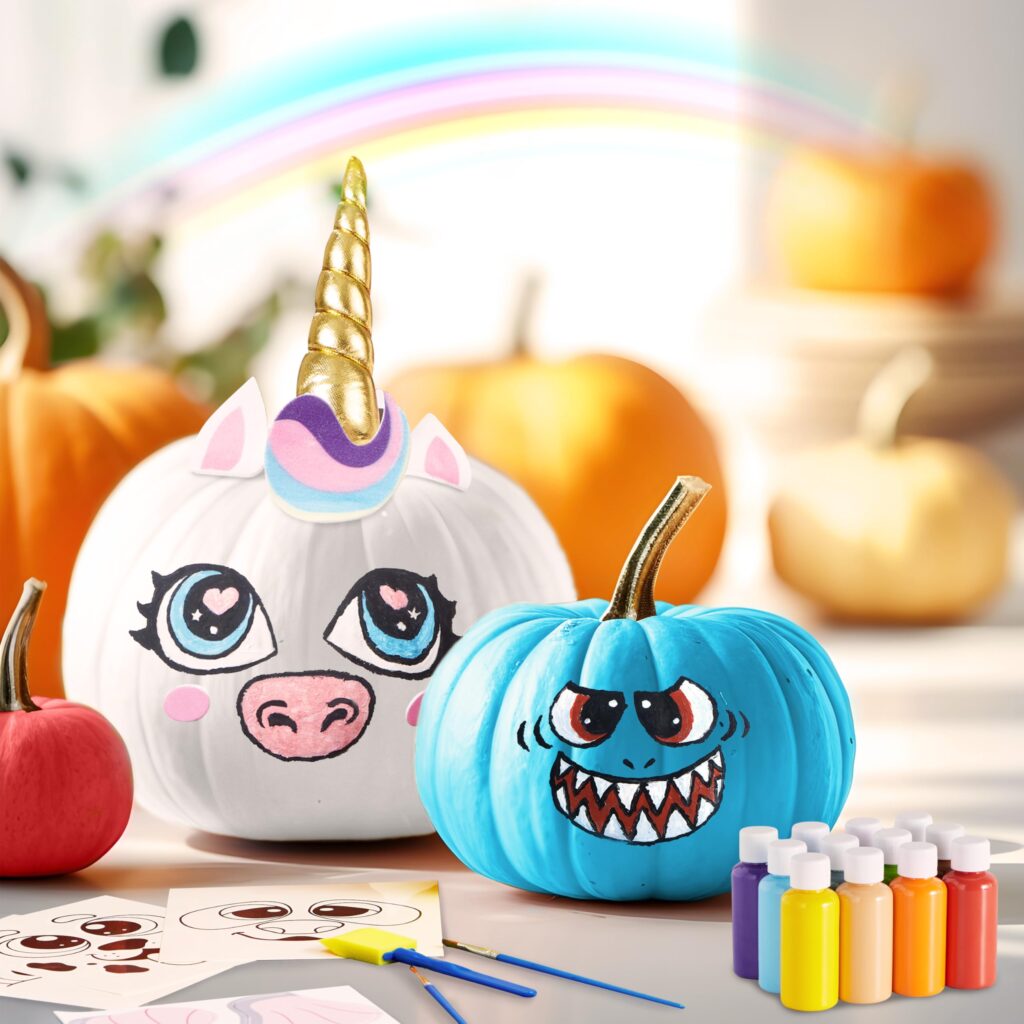
For a touch of magic this fall, a unicorn pumpkin is a dreamy pick! Paint the pumpkin white and let it dry fully. Then, add glittery accents like pink cheeks, long lashes, and a golden horn. You can craft the horn from gold foam or paper, rolled into a cone and glued on top.
Add pastel or rainbow-colored yarn as the unicorn’s mane, and cut felt into triangles for ears. Use craft glue or a low-temp glue gun to attach the pieces securely. Kids will love brushing “hair” and making their unicorn pumpkin look just right.
Tip: Use painter’s tape to mask areas you don’t want glitter on. If you don’t have felt, construction paper works just as well for ears and horns.
4. Emoji Pumpkins
Turn your pumpkin into your favorite emoji with this easy craft! Start by painting the whole pumpkin bright yellow. Once dry, use black, white, and red paints—or markers—to draw expressive emoji faces. You can recreate the classic smile, the heart-eyes emoji, or even the laughing-crying face.
This activity is a great way to connect with older kids who love texting and emojis. Let each child pick their favorite and decorate accordingly. The finished pumpkins look adorable displayed together on a porch or windowsill.
Tip: Use stencils or print out emoji face templates for younger kids to trace. A black permanent marker gives more control for small details like mouths or eyebrows.
5. Glow-in-the-Dark Ghost
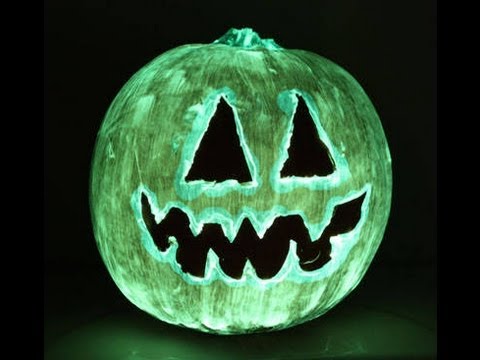
This pumpkin painting craft is especially fun for Halloween night! Use glow-in-the-dark paint to cover the pumpkin in one or two coats. Once it dries, use a black marker or paint to draw ghostly eyes and a spooky (or silly!) mouth. When the lights go out, your ghost pumpkin will glow brightly!
Glow pumpkins are exciting for kids to show off during trick-or-treating or bedtime. You can even set a few on your porch for eerie (but friendly) glowing decorations. The soft green glow adds an extra layer of fun to fall evenings.
Tip: Charge the pumpkin in bright sunlight or under a lamp before displaying in the dark. For extra brightness, use a white base coat before applying the glow paint.
6. Spider Web Pumpkin

This webby design is simple, striking, and perfect for Halloween vibes. Paint the pumpkin black or dark purple, then let it dry completely. Using a white paint pen or silver marker, draw a spider web starting from the top and branching out toward the edges. Add a plastic spider or two for extra spook!
This craft works well for older kids who are refining their drawing skills. You can also create a large family pumpkin and let everyone add their own web or spider. Add sparkle with glitter glue along the web lines for a magical touch.
Tip: If drawing a web is too tricky, use white yarn to create a real web design across the pumpkin’s surface with tape or glue.
7. Polka Dot Party

This super simple idea is a favorite for toddlers and preschoolers. Use sponge brushes or cotton balls to dab colorful dots all over the pumpkin. Choose 3–4 colors to keep things visually cohesive or go wild with the rainbow palette!
Kids can explore pattern-making while practicing motor skills. There’s no right or wrong way to do this one—just bright, fun color play! It’s also a great group activity for classrooms or fall playdates.
Tip: For less mess, squeeze paint into a muffin tin so each child has their own “palette” to dip from. Baby wipes keep little hands from spreading dots everywhere.
8. Animal Faces
Why not turn your pumpkin into a cute fox, owl, or kitty? Paint the base color (orange, brown, white, etc.) to match your animal of choice. Then, use paint or felt pieces to create ears, whiskers, eyes, and noses. For example, triangle ears and white circles make the perfect owl.
You can even create an entire zoo by letting each child paint a different animal! Animal pumpkins make fun classroom or party centerpieces and can be personalized with names or accessories like bows and hats.
Tip: Use double-sided tape for felt pieces if you want to avoid glue. Draw a sketch first on paper to help your child plan the animal’s look.
9. Superhero Pumpkins
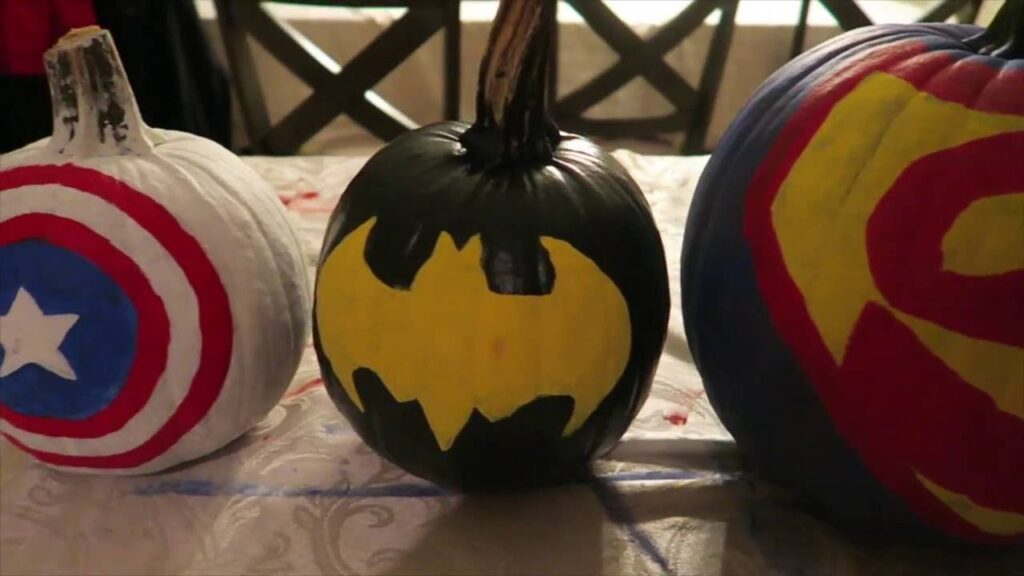
Let your little ones bring their favorite superheroes to life—on a pumpkin! Start by painting the pumpkin in superhero-themed colors—red and blue for Spider-Man, black for Batman, or green for the Hulk. Once it dries, paint or use stickers to add hero emblems like lightning bolts, shields, or masks. Kids can even cut out mini capes from fabric or paper and tape them to the stem.
This project is especially fun for kids who love dressing up as their favorite characters. Let them make up their own hero identity and design a custom logo. Create a “Pumpkin League” with different superhero pumpkins lined up on your mantel or porch.
Tip: Use printable superhero templates or stencils for logos and shapes. A cloth napkin or old T-shirt scrap makes the perfect mini cape.
10. Watercolor Pumpkins
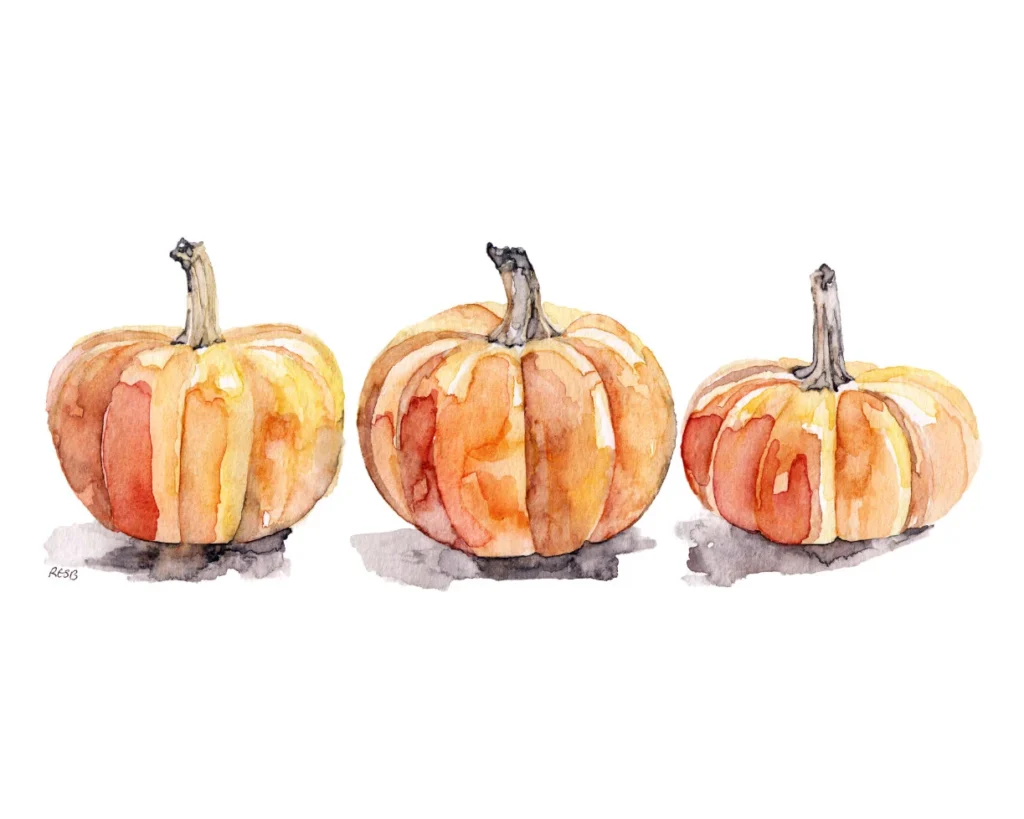
This artsy pumpkin painting idea is perfect for older kids who love to experiment. Use watered-down acrylic paint or kids’ watercolor paint sets. Paint the pumpkin in soft washes of color and watch them blend and drip into beautiful, dreamy patterns. White or pale pumpkins work best to help the colors shine.
You can use a sponge or large brush to blend colors and add interest. Blues, purples, and greens give an ethereal look, while pinks, oranges, and yellows feel cheerful and bright. Once dry, consider sealing with Mod Podge to preserve the finish and add a slight shine.
Tip: To prevent the paint from running too much, let each color dry a bit before adding the next. This is a great craft to teach about color mixing and layering.
11. Candy Corn Pumpkin
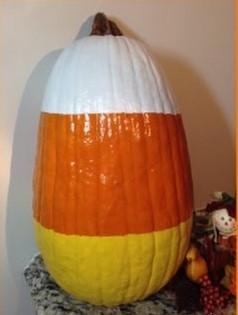
Nothing says “fall fun” like candy corn! This craft turns your pumpkin into a sweet seasonal treat. Paint the bottom third of the pumpkin orange, the middle section yellow, and the top white. Let each section dry before painting the next to avoid color bleeding.
This bold, color-blocked design is easy enough for kids but visually striking enough for adult décor. Group several together in different sizes to create a candy corn patch! Add a bow or glitter stem for an extra cute touch.
Tip: Painter’s tape helps create clean lines between sections. Use foam brushes for smooth, even coats—especially for younger kids.
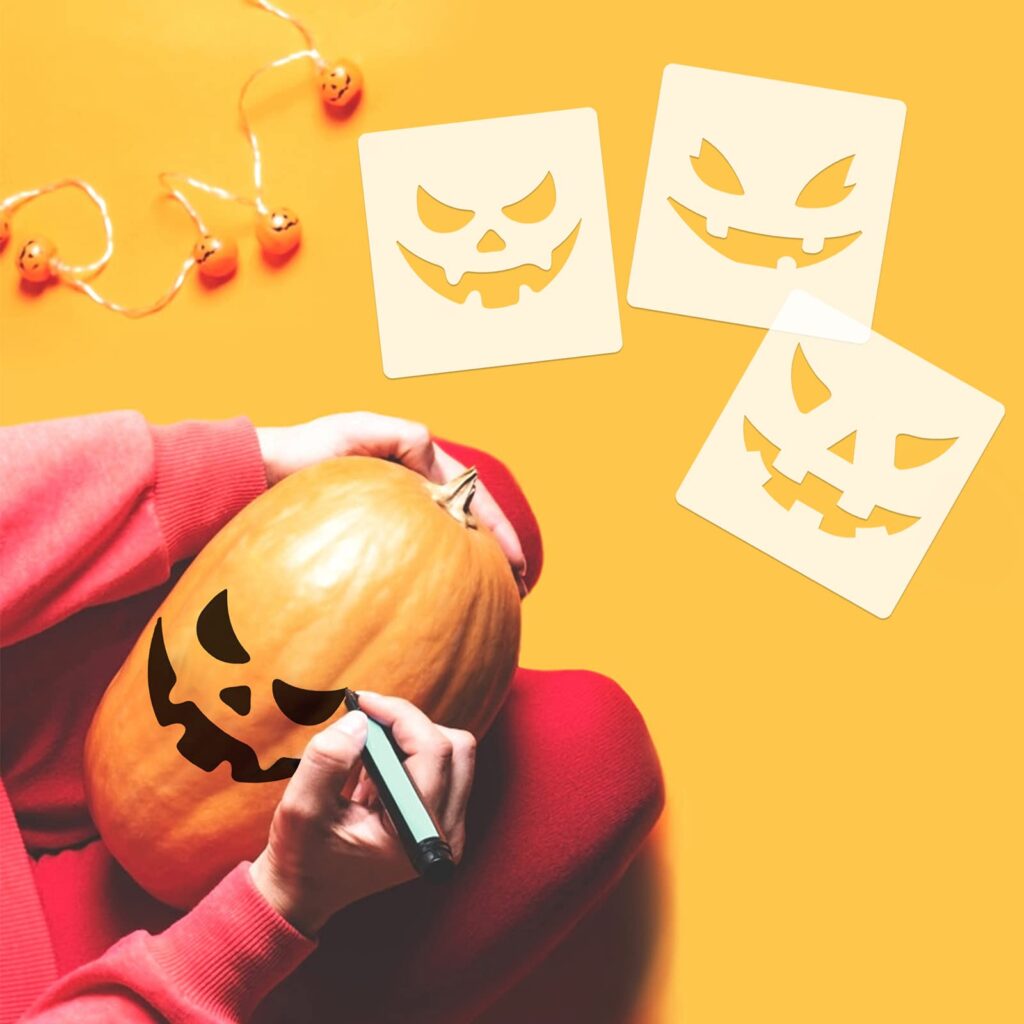
12. Funny Face Pumpkins
Let your child’s imagination run wild with silly painted pumpkin faces! Begin with a base color—white, orange, green, or purple. Then, paint or glue on oversized facial features: googly eyes, giant red noses, wonky teeth, and goofy grins. You can even add a yarn wig or hat for extra fun.
This project allows kids to practice emotions and expressions—happy, surprised, silly, or scared. Encourage them to name their pumpkin characters or make up a silly story to go with each one. The more outrageous, the better!
Tip: Use sticker eyes or felt shapes for younger children who don’t want to use paint. Keep features large and exaggerated for maximum fun!
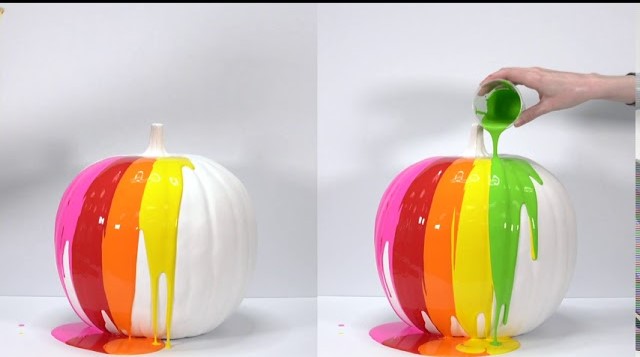
13. Tie-Dye Pumpkin
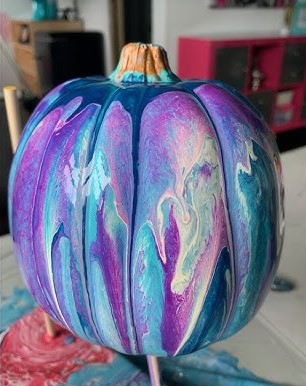
This swirling, psychedelic pumpkin is a true show-stopper! Use 3–4 bright paint colors and pour small puddles on the pumpkin’s top. Then, tilt and swirl the pumpkin gently to let the paint run down the sides. As the colors mix, they’ll create a stunning tie-dye effect.
You can use squeeze bottles for more control, or a spoon to drizzle paint across the surface. This method is messier, so be sure to paint over a tray or lined surface. The final result is totally unique every time!
Tip: Add a metallic or neon color to give the pumpkin some extra pop. Don’t over-mix—letting colors stay slightly separate gives a bolder pattern.
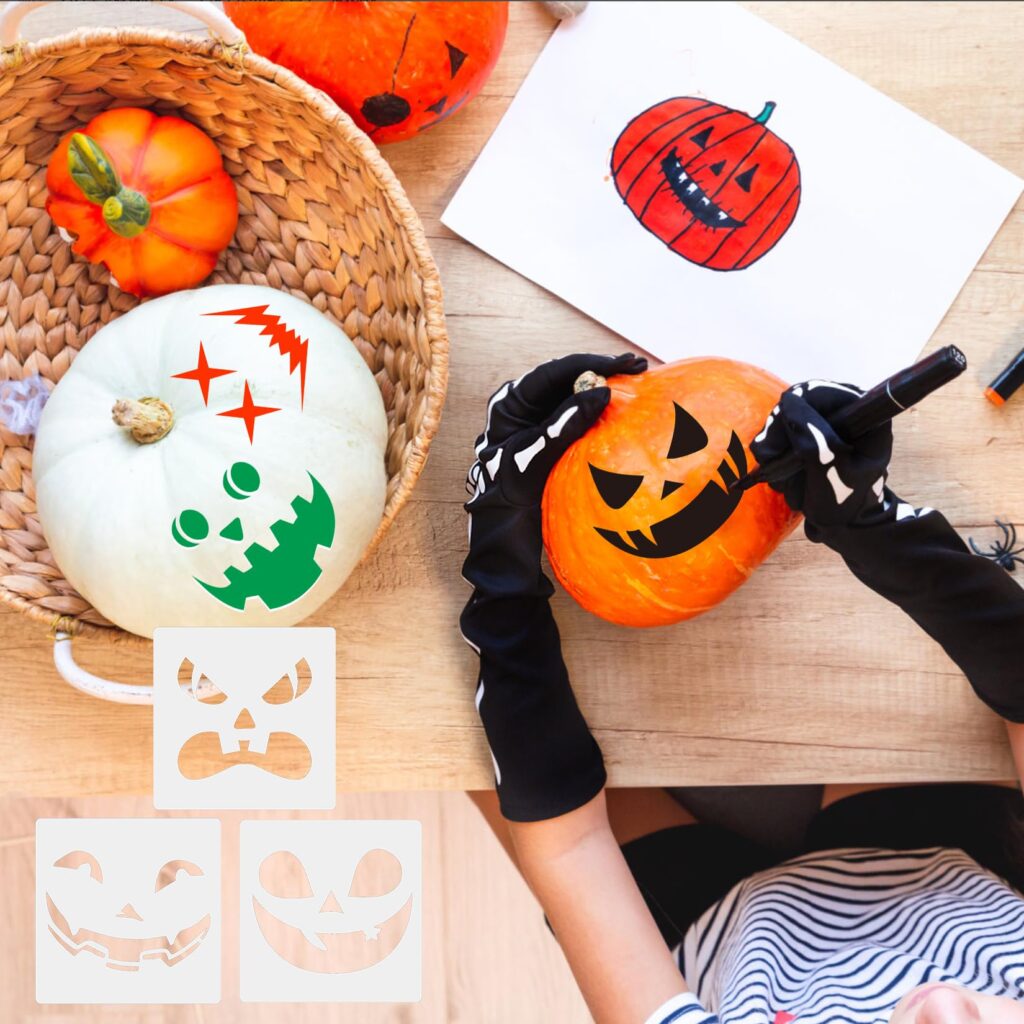
14. Sticker & Stencil Combo Pumpkin

If you’re looking for a super beginner-friendly activity, this one’s for you. Choose a fun base color and paint the pumpkin first. Once dry, apply stickers or stencils, then paint over them or around them with a contrasting color. When you peel the stickers off, the original color shows through in fun shapes and designs.
This technique is great for younger kids who aren’t ready for detailed painting. You can use Halloween-themed stickers (bats, ghosts, cats) or simple shapes like stars and hearts. It’s a great way to let kids feel successful and creative with little effort.
Tip: Foam stickers are easier to remove and create a cleaner silhouette. Let the top coat dry just enough so that peeling off the stickers doesn’t smudge the paint underneath.
Final Thoughts
Pumpkin painting is the perfect no-carve alternative that kids of all ages can enjoy. From silly monsters to sparkly unicorns and tie-dye masterpieces, these 14 ideas are simple to create and packed with fun. Best of all, you can turn your painted pumpkins into festive decorations or gifts for grandparents, neighbors, and teachers.
Remember to take lots of photos and let your kids proudly display their creations! Share them on social media or keep them as part of your family’s fall traditions. Happy painting—and may your fall season be as colorful and creative as your pumpkins!